CENTER GROVE, IN · Available 24/7 · (765) 676-3491

Plumbing Leak Water Damage in Center Grove: Wall and Floor Repair

3eb92760 b9b3 476b a727 f99e9d2dc758

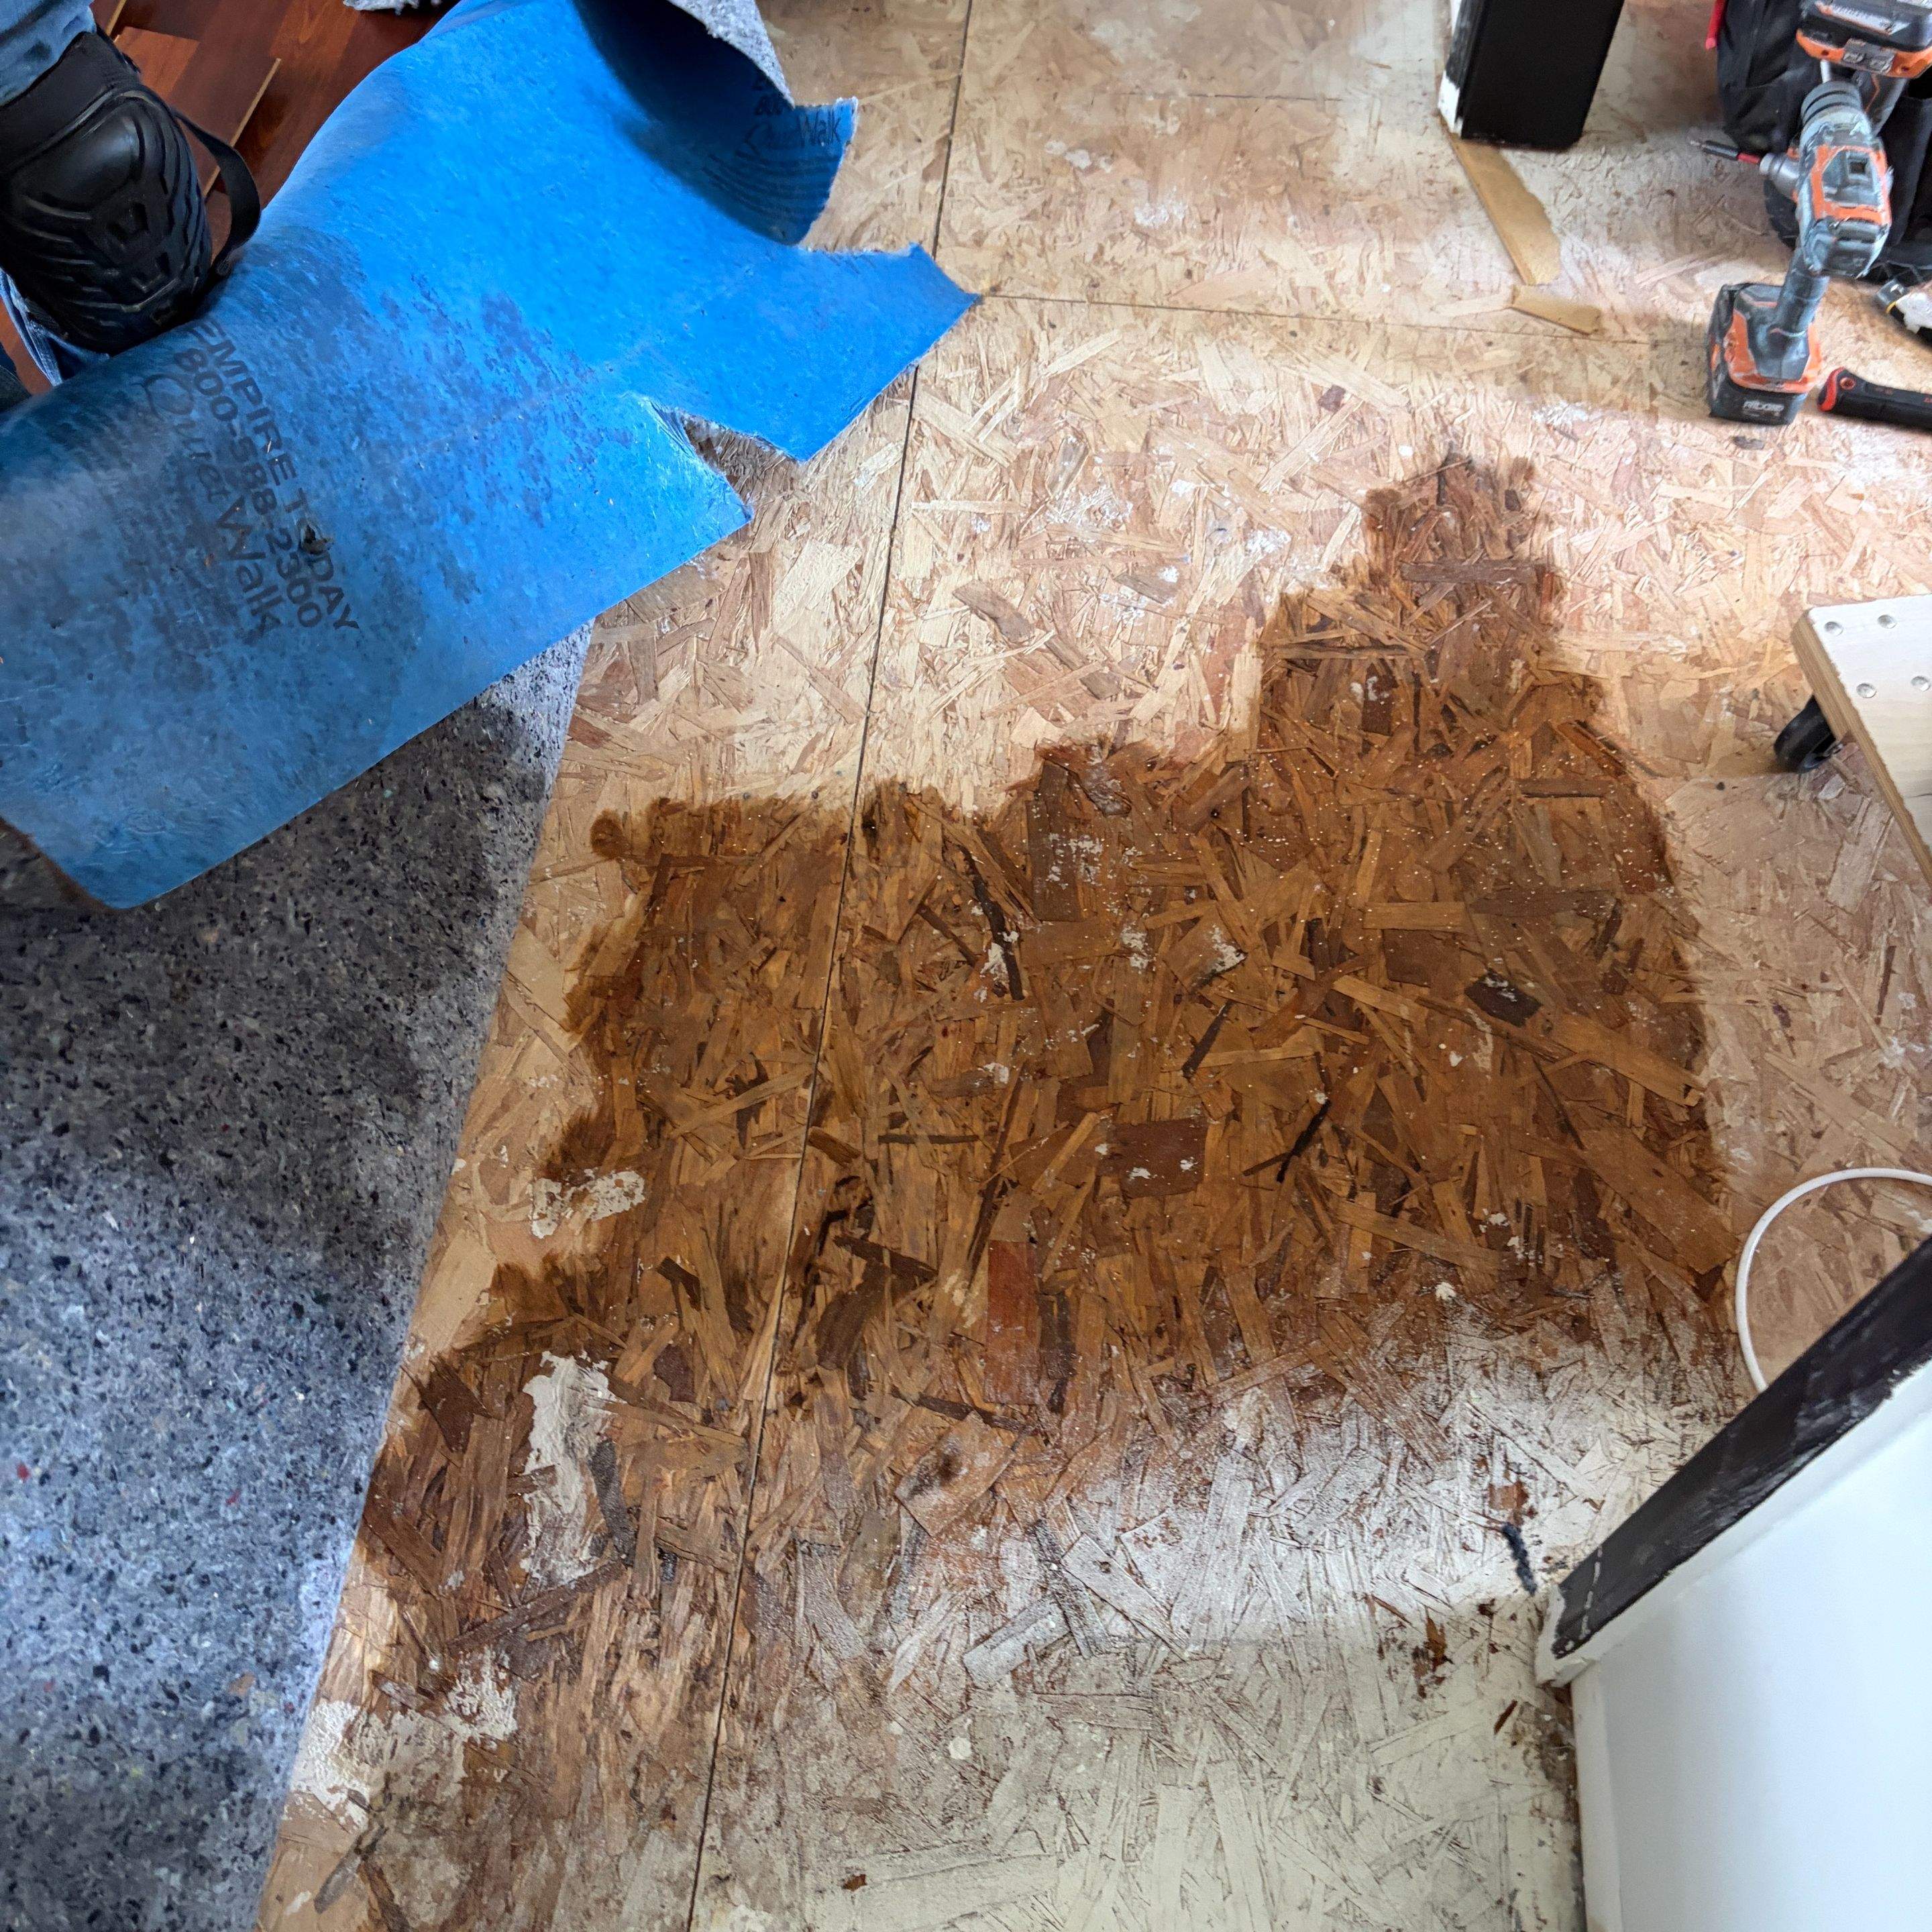
The first sign is usually small. A faint stain on the baseboard, a soft spot near the dishwasher, a section of laminate that suddenly flexes underfoot. By the time most Center Grove homeowners call Center Grove Water Restoration, that small sign has bloomed into something much bigger, because plumbing leaks rarely stay where they start. Water tracks down studs, runs along the bottom plate, soaks into subfloor, and finds the lowest point in your home before you ever see a drop. We have walked into kitchens in Center Grove where the visible damage was a six inch wet patch and the actual saturation footprint, measured with a moisture meter, covered nearly forty square feet of flooring and two adjacent wall cavities.

That gap between what you see and what is actually wet is the entire reason this kind of damage gets expensive when it is ignored, and the entire reason Center Grove Water Restoration treats plumbing leak response as a structural problem first and a cosmetic one second. Since 2018, our IICRC certified crews have responded to supply line failures, slow drain leaks, ice maker line ruptures, and behind the wall pinhole leaks across central Indiana. If we look at your situation and decide drying alone will solve it, we will tell you directly, no demolition pitch attached.

Step 1: Stop the Water Source (0 to 5 Minutes)

  1. Locate the fixture shutoff valve under the sink, behind the toilet, or at the appliance supply line. Turn clockwise until firm.
  2. If the fixture valve is seized or missing, shut the main water valve. In Center Grove homes, this is usually within 3 feet of where the supply enters the basement or crawl space.
  3. Open the lowest faucet in the home to drain residual line pressure.
  4. Photograph the leak source, the surrounding materials, and any visible standing water. These images anchor your insurance claim.
  5. Kill power to the affected circuit at the breaker panel before stepping into any wet area near outlets, switches, or appliances.

Step 2: Identify the Water Category (5 to 15 Minutes)

  1. Category 1: Clean supply line water from a copper, PEX, or CPVC pipe. Safe to handle with gloves.
  2. Category 2: Grey water from a dishwasher discharge, washing machine drain, or aquarium. Contains detergents or biological contaminants.
  3. Category 3: Black water from a sewage line, toilet trap below the rim, or any source that has contacted soil. Requires PPE and professional cleanup. Review our sewage backup cleanup protocols before touching this water.
  4. Record the category on a notepad. The category dictates which materials can be dried and reused versus removed and replaced.
  5. Note time of contamination. Category 1 water that sits longer than 48 hours promotes to Category 2. Category 2 promotes to Category 3 after 72 hours.

Step 5: Open the Affected Cavities (1 to 3 Hours)

  1. Score drywall with a utility knife 4 inches above the highest wet reading. Cut a clean horizontal line for easy patch reinstall.
  2. Remove the saturated section and bag it in 3 mil polyethylene if the water was Category 2 or 3.
  3. Pull wet insulation. Fiberglass batts lose R-value permanently once soaked. Cellulose must always be removed.
  4. Inspect framing for splits, delamination on OSB, or active fungal growth. Treat surface staining with an EPA registered antimicrobial.
  5. Drill 1 inch weep holes in the bottom plate cavity at 16 inch intervals if the cavity reads wet but the drywall reads dry. This allows airflow without full demolition.

Step 3: Extract Standing Water (15 to 60 Minutes)

  1. Remove any standing water deeper than 0.25 inches with a wet vacuum rated for at least 12 gallons.
  2. For larger volumes over 50 gallons, call for truck-mounted extraction. A truck mount removes water at 50 to 100 gallons per minute versus 2 to 3 gallons per minute for a shop vac.
  3. Pull up area rugs and carry them outside on a tarp. Saturated pad weighs 4 to 6 times its dry weight.
  4. Lift furniture onto foam blocks or aluminum foil squares to break wood-to-wet-floor contact.
  5. Extract carpet with a weighted extraction wand. Two slow passes per lane removes roughly 80% of trapped water versus 50% for a single pass.

Step 7: Set the Drying Equipment (Day 1)

  1. Air movers: Place 1 unit per 50 to 60 linear feet of wall surface. Angle at 15 to 45 degrees from the wall.
  2. Dehumidifiers: Calculate one LGR (low grain refrigerant) dehumidifier per 1,000 to 1,500 cubic feet of affected space.
  3. Target temperature: 70 to 85 degrees Fahrenheit. Drying slows below 65 degrees.
  4. Target relative humidity: Below 40%. Most Center Grove basements run 55 to 70% in summer without dehumidification.
  5. Document grain depression. Difference between intake and exhaust should stay above 30 grains per pound.
  6. Seal off the drying chamber with 6 mil poly sheeting at doorways. Containment cuts drying time by 30 to 50% by limiting the volume of air the dehumidifier must condition.

Step 10: Document for Insurance

  1. Submit your initial photos, moisture logs, equipment placement diagrams, and material disposal receipts.
  2. Request a copy of the IICRC technician certification numbers from your restoration contractor.
  3. Reference our water damage restoration service page for the documentation packet format insurance adjusters expect.
  4. Keep a written timeline of every phone call, adjuster visit, and contractor estimate. Center Grove Water Restoration provides clients a unified log file that satisfies most carrier requirements on first submission.
  5. Retain physical samples of removed flooring and drywall in labeled bags until the claim closes. Adjusters occasionally request material verification after the fact.

Step 8: Monitor and Verify (Days 2 to 4)

  1. Take moisture readings every 24 hours at the same grid points.
  2. Drywall is dry when it reads below 16% on a pin meter at the bottom plate.
  3. Framing studs are dry below 19% moisture content per IICRC S500 standards.
  4. Subfloor must read within 2 to 4 percentage points of the finished flooring material before installation.
  5. Do not pull equipment early. The last 10% of drying takes the longest because bound water releases slowly.
  6. If readings plateau for 48 hours, reposition air movers or add a second dehumidifier. Stalled drying usually means a hidden pocket of saturation, not equipment failure.

Step 9: Reconstruction (Days 5 and Beyond)

  1. Install new insulation matched to the original R-value.
  2. Hang drywall patches with at least 1 inch of overlap onto existing framing. Tape, mud, and sand in 3 coats.
  3. Prime with a stain-blocking primer to prevent tannin or rust bleed-through.
  4. Reinstall baseboard, quarter round, and floor transitions.
  5. Touch up paint with the original SKU. Center Grove homes built in different decades use distinct sheens, so match before you buy.

Step 6: Address the Flooring (2 to 6 Hours)

  1. Hardwood: Read moisture content on the planks. Above 20% requires controlled drying with mats. Above 40% sustained for 72 hours usually means replacement.
  2. Engineered wood: Delamination at the seams is terminal. Replace affected boards.
  3. Laminate: The fiberboard core swells permanently. Pull and replace.
  4. Tile: Usually salvageable. Check grout for hollow sounds indicating subfloor saturation.
  5. Vinyl plank: Lift planks, dry the subfloor to below 14% moisture content, then reinstall.
  6. Carpet: Disengage from tack strip, remove and discard the pad, then float the carpet on air movers. Pad is rarely worth drying.

Step 4: Map the Moisture Migration (30 to 90 Minutes)

  1. Use a pinless moisture meter on drywall in a grid pattern, 12 inches on center, starting at the leak source and working outward.
  2. Mark wet zones with blue painter's tape. Drywall reads wet typically above 1% on relative scale or above 16% gravimetric.
  3. Probe behind baseboards with a pin meter. Sill plates and bottom plates wick water laterally up to 24 inches from the source.
  4. Check the ceiling below if the leak was on a second floor. Use a thermal camera or pin meter through the back side of access points. Our guide on water damage behind walls and hidden leak detection details the exact probe pattern.
  5. Establish unaffected baseline readings in a dry room of the same construction. All target dry standards reference this baseline, not an arbitrary number.

Straight Answers, Then a Plan

If you are standing in a Center Grove kitchen or bathroom right now looking at a wet floor or a stained wall, the right next step is a phone call, not a pry bar. Center Grove Water Restoration will send a certified technician, measure what is actually wet, and tell you whether this is a drying job, a repair job, or something in between. If your situation is small enough to handle yourself, we will say so. If it needs full restoration, you will have a written scope and a clear path forward before any demolition begins.

Frequently Asked Questions

How quickly do I need to act after finding a plumbing leak in Center Grove?

Within 24 hours, ideally within 4. After 48 hours, Category 1 water becomes Category 2 as bacteria grow, which expands the repair scope and cost. Center Grove Water Restoration runs 24/7 emergency response across Center Grove for this reason.

Will my homeowners insurance cover plumbing leak wall and floor repair?

Sudden and accidental leaks are typically covered, including mitigation, drying, and reconstruction. Long-term seepage usually is not. Center Grove Water Restoration documents every job with moisture readings and photos so Center Grove adjusters can approve claims without back-and-forth.

Can wet drywall and hardwood be saved, or does everything need replacement?

It depends on category, time, and material. Category 1 drywall caught early often dries in place. Hardwood cupped less than 1 percent moisture above normal can usually be sand-and-refinished. Beyond that, replacement is more cost-effective.

How long does the full repair process take from leak to finished walls and floors?

For most Center Grove jobs, drying takes 3 to 5 days and reconstruction adds another 5 to 14 days depending on scope. Slab leaks and Category 3 jobs run longer. Center Grove Water Restoration provides a written timeline at the initial inspection.

Do you work directly with my insurance company?

Yes. Center Grove Water Restoration bills carriers directly on approved claims, provides Xactimate-aligned scopes, and communicates with your adjuster throughout the job so you are not stuck translating between parties.